Mastering the Cessna 172 Landing: Expert Tips and Techniques
Apr 01, 2025
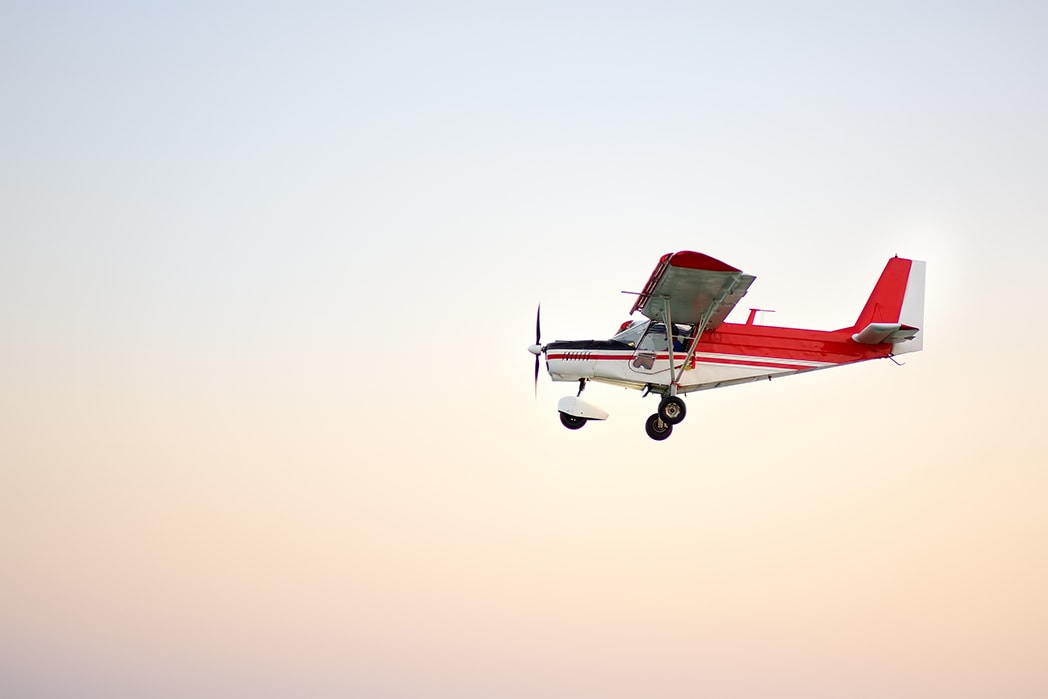
Want to perfect your Cessna 172 landing? This guide provides crucial techniques from pre-landing to post-landing procedures, ensuring a smooth experience.
Major Pre-Landing and Landing Steps:
-
Pre-landing checklist: Check landing gear, fuel, and other critical systems.
-
Approach preparation: Monitor airspeed and adjust power settings.
-
Flap configuration: Set the right flap settings based on landing type.
-
Descent management: Control descent rate and airspeed.
-
Final approach: Stabilize approach, adjust power, and prepare for the flare.
-
Flare and touchdown: Manage pitch to ensure a soft landing.
-
Post-landing procedures: Maintain control after touchdown and prepare for the next flight.
At Flight Nerd Air Force, we’re your go-to source for mastering aviation. Whether you're exploring the Cessna 172 passenger capacity, its performance, comparing it to aircraft like the Piper Archer, or learning about fuel efficiency, our expert community is here to guide you.
Join us for in-depth insights, training resources, and tips from pilots with over 20 years of experience. Start your flight journey today with Flight Nerd Air Force!
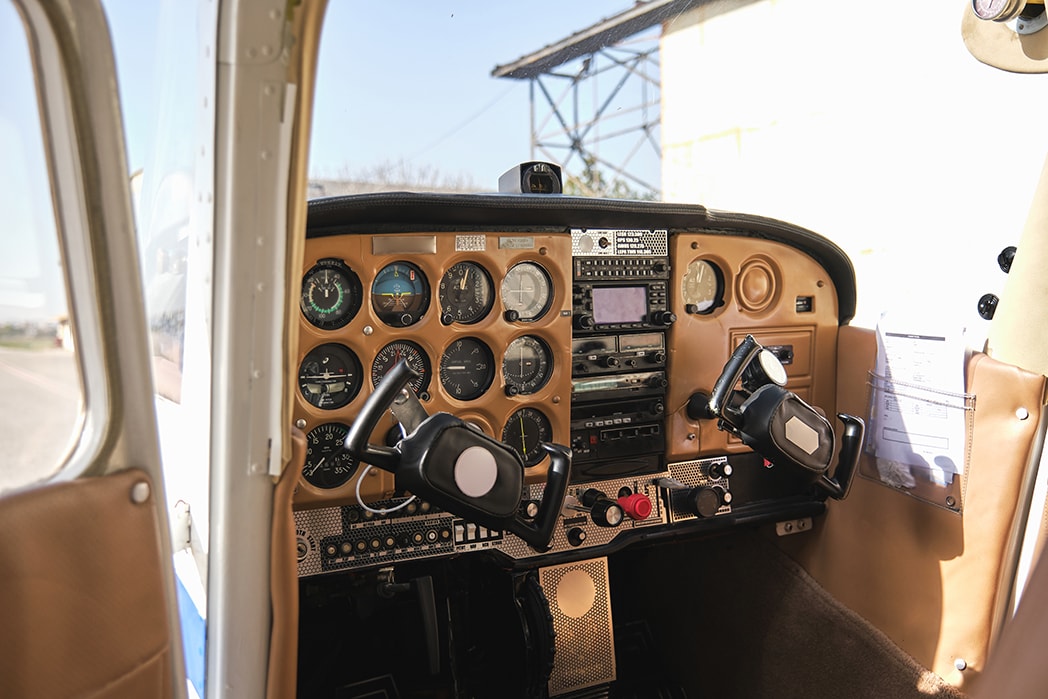
Pre-Landing Checklist
You start preparing for a safe landing well before you actually land. It’s a long checklist and it’s essential to get everything right. This is crucial for the plane to be complied with all regulations and in good condition for the descent.
To master the Cessna 172 landing, it's crucial to follow a comprehensive pre-landing checklist.
Before Landing Checklist
-
Seatbelts and Harnesses: Ensure all seatbelts and harnesses are fastened.
-
Mixture: Set the mixture to rich (check density altitude).
-
Radios: Check all radios for proper communication.
-
Landing Light: Turn on the landing light.
-
Carburetor Heat: Apply carburetor heat if there is a significant reduction in power.
-
Fuel Selector Valve: Ensure it is set to both tanks.
-
Autopilot: If installed, ensure it is off.
-
Cabin Power Switch: Ensure it is off.
Landing
-
Final Approach Airspeed: Maintain approximately 60 KIAS.
-
Flaps: Extend to full flaps.
-
Touchdown Airspeed: Aim for the slowest possible airspeed.
-
Touchdown: Ensure the main wheels touch down first.
-
Landing Roll: Gently lower the nose.
-
Braking: Use minimum required braking.
After Landing
-
Transponder: Leave on altitude mode.
-
Flaps: Retract all flaps.
-
Carburetor Heat: Switch to cold.
-
Landing Light: Turn off.
-
Trim: Reset the trim.
-
Mixture: Lean when required.
-
Securing the Aircraft:
-
Brakes: Apply brakes.
-
Transponder: Switch off.
-
Avionics Switch: Switch off.
-
Ignition Grounding: Check.
-
Mixture: Lean 1 in, 1700 RPM for 15 seconds, then idle/cutoff.
-
Ignition: Switch off and remove keys.
-
Master Switch: Switch off.
-
Beacon Light: Switch off.
-
Control Lock: Install (if on a sloped surface).
-
Make sure to prioritize the landing gear and landing lights. These are critical in the last seconds before touching down. Any faults in these systems can be serious.
Monitor fuel levels carefully by checking quantity and quality. This will prevent engine failure due to lack of fuel or bad fuel.
A pre-landing check gets your plane ready for this critical phase so you can focus on the approach and landing.
Additionally, it’s important to ensure that you’re flying well above your aircraft’s stall speed during the approach to maintain control and avoid stalling.
Approach Preparation
After you’ve completed the pre-landing checklist, focus on approach prep to set up for a good landing. 90 knots on the downwind leg until about 3/4 mile from the runway then reduce power to 1500 and flaps 10.
On the base leg, adjust power and flaps to 75-80 knots and make any course corrections before the final turn. Space flap deployment by 15-30 seconds for a controlled decent.
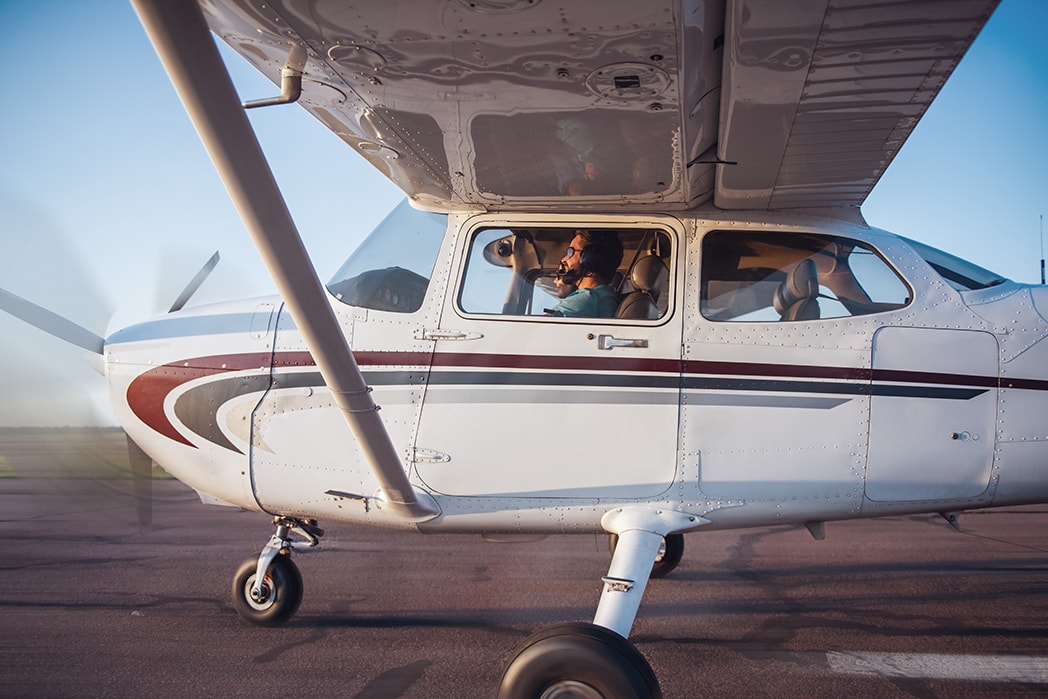
During the approach, keep aligned with the runway centerline using visual references like the aircraft rivets. This sets up a smooth transition into the final approach.
Cessna 172 engine performance is also critical during this phase. Ensuring proper power settings allows for smooth adjustments to speed and descent rate as you prepare for landing.
Flaps Configuration
Making sure you have the right flaps is key as it affects rate of descent and how the plane handles. When flying a Cessna 172 you should only extend full flaps (30) when you know you have a safe path to the runway as this will increase drag and allow for a steeper approach and some lift initially.
For short field landings set your aim point 200-300 feet before where you intend to land so you can flare without going past your target. This is especially important for student pilots trying to make controlled descents.
When doing soft field landings in a Cessna use full flaps to control speed and flight authority. Gently add power just before landing will reduce impact force and give a softer touchdown. Flap management is key for all types of landings.
Managing Descent
Descend before the threshold for easier airspeed and control. Target 300-500 feet per minute and 70 knots during the approach.
In a Cessna 172 reduce power but keep the pitch level to descend and fly a steady path. Trim is your friend here to help with the descent rate and minimize control inputs.
Use visual references like the runway to judge distance from the ground during descent. These help with depth perception and timing for a smooth landing. Combine these and you’ll have a controlled approach.
Final Approach
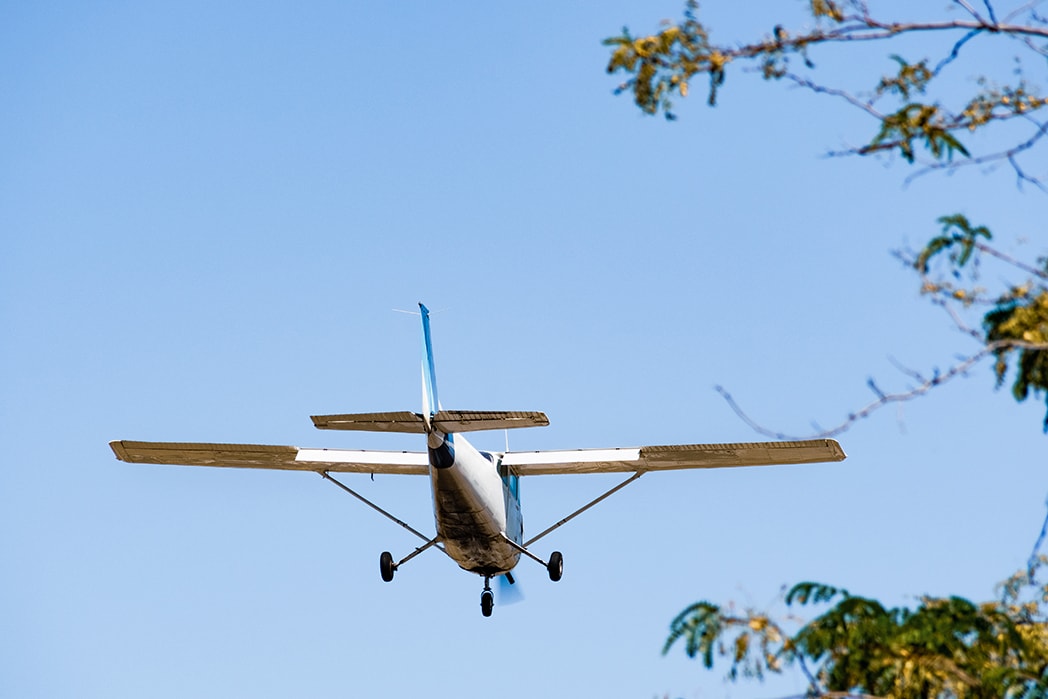
On final approach focus on stability and precision. Reduce power to idle and 65 knots and hold until the flare.
On final approach pitch controls airspeed and power controls altitude. In gusty conditions add half the gust factor to your approach speed to stay stable and smooth. Precise adjustments help you stay on stable approach.
Crosswind landings require rudder and aileron inputs to line up with the runway and have a staggered touchdown, upwind main first. Master the final approach by staying in control and making adjustments for a smooth landing.
Flare and Touchdown
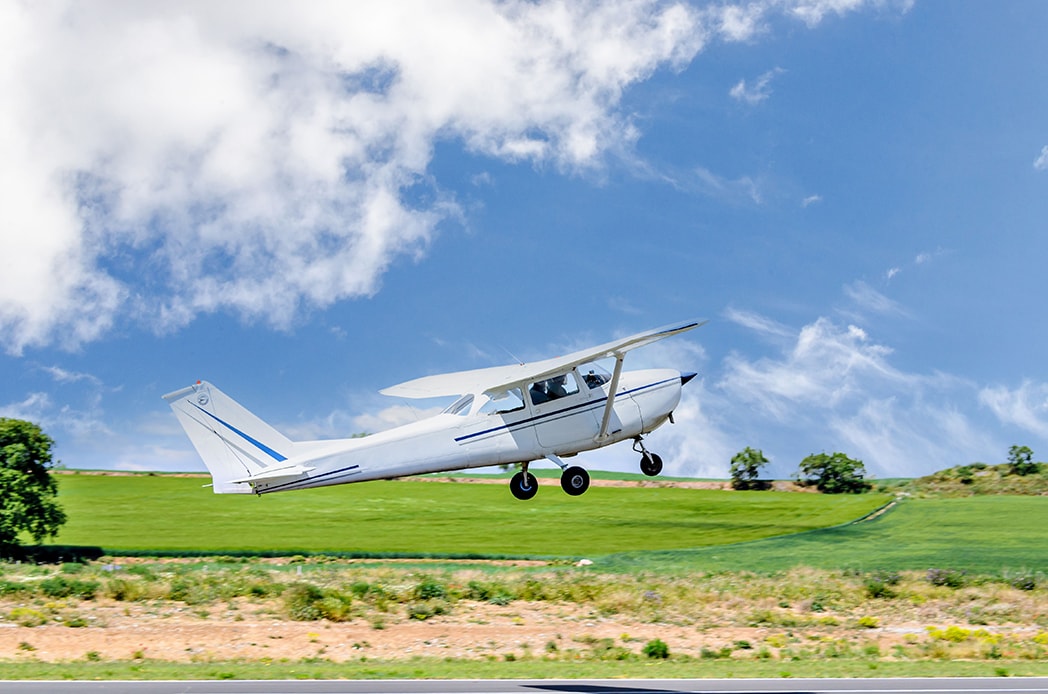
The flare is where precise pitch management makes all the difference between a soft or hard touchdown. Keep the pitch so the nose is at or below the horizon until touchdown and reduce the rate of descent for a smooth landing.
The flare has two parts: the round out to reduce the rate of descent and the touchdown where the aircraft touches the ground. New pilots often misjudge the timing and float or bounce. Focus on flying through the whole flare to avoid this.
If you bounce, hold the nose at the horizon and add a little power to stop the descent before re-flare. After touchdown, back pressure on the elevator until the nose wheel settles.
Post-Landing Procedures

Landing isn’t the end. Post-landing procedures ensure safety and get you ready for the next flight. After you touch down keep your control inputs steady until the plane is firmly on the ground to maintain control.
In crosswinds use full aileron after landing to control the plane and keep it straight. Brake cautiously during the landing roll. Beginners forget to keep flying the plane after touchdown and lose control.
After you slow down, maintain that speed until you reach taxi speed before you exit the runway. Taxi to the nearest taxiway without stopping until you are past the hold short line.
Post-landing checks should verify all systems are functioning and the plane is secure for the next flight.
Common Mistakes to Avoid
Master the Cessna 172 landing by avoiding these common pitfalls. Students struggle with trim adjustments which are critical for a stable approach and descent.
The instructor’s guidance during practice landings is key to recognizing and correcting landing mistakes. Instructor’s advice and recommendations help the student fine tune their skills. Flying different runways helps build confidence and advance your landing skills.
With consistent training and instructor feedback students can reduce frequent landing errors and develop the skills to have solid, safe and smooth touchdowns.
Emergency Go Around
Even with proper prep, sometimes you have to go around. This is critical to safety and should be considered part of the landing process if needed.
When you go around, you have to bring in full power and make sure you’re climbing. Retract flaps methodically during this time to get stable and set up for another approach. Tell air traffic control as soon as possible.
For any pilot, being able to go around is a must. It’s a safety net that gives you another chance if the first approach is no good.
Training Tips from Instructors
Instructors provide valuable guidance to improve landing skills. The Cessna Skyhawk is the perfect plane to learn landing with, designed with instructors, students, and observers in mind. It’s stable and forgiving.
Consistent practice with an instructor’s feedback is key to improvement. Instructors give you personalized feedback and corrections. Plus, digital platforms like YouTube have visual guides and instructional content to supplement traditional training.
Additionally, Flight Nerd Air Force offers structured courses to help you gain more hands-on experience with Cessna 172 landings and perfect your skills in a controlled environment.
Combining methodical practice sessions, instructor feedback, online resources, and FNAF training will help you progress faster as a student pilot trying to be proficient in landing a Cessna 172.
Frequently Asked Questions
Why is the pre-landing checklist important?
Before landing go through the pre-landing checklist to make sure the aircraft is ready and meets safety standards for a safe descent. It reduces hazards and makes the whole flight safer.
What should be the final approach speed in a Cessna 172?
The final approach speed in a Cessna 172 should be maintained at 65 knots to ensure a stable and controlled landing.
How should I handle a bounce during landing?
To handle a bounce during landing, hold the nose level with the horizon and apply slight power to control the descent, then prepare to perform a normal flare once stabilized.
When should I execute a go-around?
Execute a go-around when the landing approach is unstable or when conditions are unsafe, as it is a critical safety measure essential for ensuring a safe landing.
How can I improve my landing skills?
Practice regularly, ask for feedback from mentors or coaches and tap into the wealth of information online. Stick to this and you will see progress.
